How to Set Up a Record Player for the First Time
Setting up a record player for the first time takes about 20 minutes if you know what to do — or two frustrated hours if you don’t. This guide covers every step in order, from unboxing to the first play, with the most common mistakes flagged at each stage.
Before You Start: What’s in the Box
Most record players include: the turntable unit, a dust cover, a 45 RPM adapter (small plastic insert), RCA cables, a power cable, and sometimes a felt platter mat. Check that all parts are present before starting. Keep the manual — it has model-specific details this guide can’t cover.
Step 1 — Choose the Right Surface
Place the turntable on a solid, stable, level surface away from speakers. Avoid hollow shelves that flex underfoot, surfaces that share vibration with your speakers, and anything that wobbles. A dedicated audio rack — like the Arkrocket Statio rack — solves this cleanly. Otherwise, a heavy sideboard or thick shelf works well.
Check the level using a spirit level or phone app on the platter. The bubble must be centred. Adjust the feet or surface until level before doing anything else. An unlevel turntable causes skipping and uneven stylus wear.
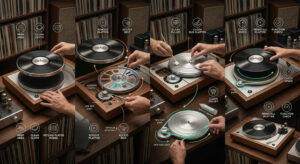
Step 2 — Install the Platter and Belt
Most belt-drive turntables ship with the platter and belt separate. If yours came disassembled:
Loop the belt around the inner rim of the platter first, then lower the platter onto the centre spindle. Reach through the access hole in the platter and hook the belt onto the motor spindle — use a pen or pencil to guide it if needed. Spin the platter by hand once or twice to confirm the belt is seated correctly and isn’t twisted.
Some models (including Arkrocket players) come with the platter pre-installed. If the platter is already on, skip this step.
Step 3 — Place the Platter Mat
If a felt or rubber mat is included, lay it flat on the platter. It sits between the platter surface and the record, absorbing vibration and preventing the record from slipping. Smooth out any wrinkles — a bunched mat can cause the record to wobble.
Step 4 — Remove the Stylus Guard
The stylus (needle) ships with a small plastic clip protecting the tip. Do not forget this step — it is the most common reason a new setup produces no sound. Grip the clip by its sides and slide it forward to remove. Never pull it downward or touch the stylus tip with your finger.
Step 5 — Balance the Tonearm and Set Tracking Force
This is the most important setup step and the one most often skipped. Incorrect tracking force causes skipping, distortion, and record damage.
Set anti-skate to 0. Release the tonearm and rotate the counterweight until the arm floats level — parallel to the platter. Once balanced, rotate only the outer dial ring to point to 0 without moving the counterweight. Then rotate the whole counterweight to your target tracking force. For Arkrocket AR-N60 cartridges (Cassini, Huygens, Polaris II): set to 3.5g.
Finally, set anti-skate to match your tracking force value (3.5 if tracking force is 3.5g).
See our full tracking force guide for detailed step-by-step photos.
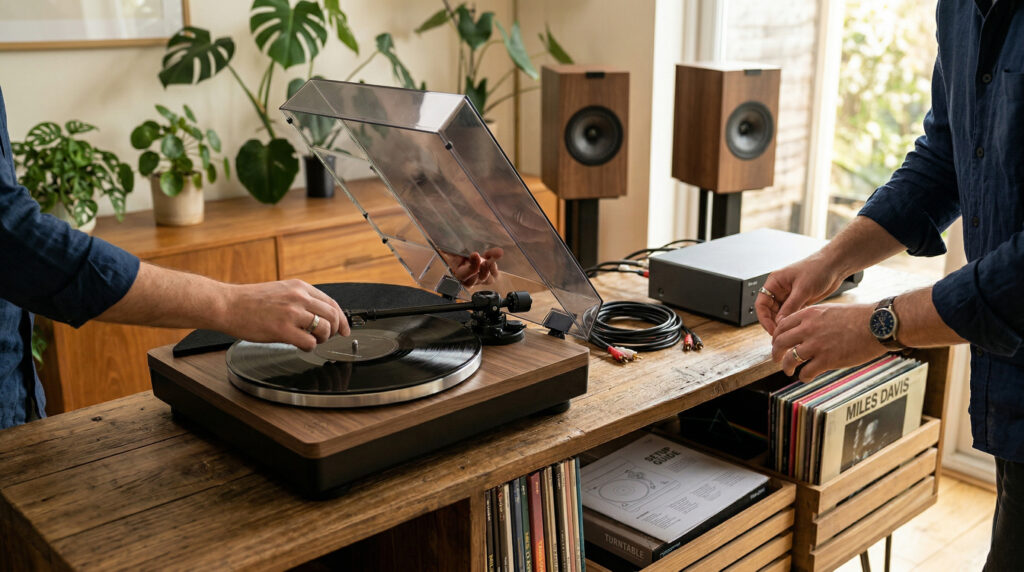
Step 6 — Connect to Speakers
The connection method depends on your speaker type. The most important setting: check the PHONO/LINE switch on the back of the turntable.
| Speaker Type | PHONO/LINE Switch | Connection |
|---|---|---|
| Powered speakers (AUX/RCA input) | LINE | RCA cable turntable → speaker |
| Receiver with AUX or CD input | LINE | RCA cable turntable → receiver |
| Receiver with dedicated PHONO input | PHONO | RCA + ground wire |
| Bluetooth speaker/headphones | LINE | Bluetooth pairing mode |
| Arkrocket included speakers | LINE | RCA cable (already included) |
See our full speaker connection guide for every setup type.
Step 7 — Power On and Test
Power on the turntable first, then the speakers. Set volume to around 40% on both. Select the correct speed for your record — 33⅓ RPM for standard 12″ LPs, 45 RPM for 7″ singles. Place the record on the platter. Lower the tonearm gently using the cueing lever onto the outer groove. Music should begin immediately.
No sound? Check the stylus guard is removed, the PHONO/LINE switch is in the correct position, and all cables are firmly connected. See our no-sound troubleshooting guide for a full checklist.
First-Time Setup Checklist
| Step | Done? |
|---|---|
| Turntable on level, stable surface | ☐ |
| Platter and belt installed correctly | ☐ |
| Platter mat in place | ☐ |
| Stylus guard removed | ☐ |
| Tonearm balanced and tracking force set | ☐ |
| Anti-skate set to match tracking force | ☐ |
| PHONO/LINE switch in correct position | ☐ |
| RCA cables connected at both ends | ☐ |
| Correct speed selected for record | ☐ |
| Volume set before lowering stylus | ☐ |
Watch: First-Time Record Player Setup
See also: How to Set Tracking Force · How to Connect to Speakers · Record Player No Sound Fix · Vinyl 101 Free Course
← Back to Fix & Setup